Network Topology
NULL
Problem Description
How to configure NVMe SSD RAID through VROC in BIOS.
Process Analysis
On the Intel® Virtual RAID on CPU (Intel® VROC) menu of the BIOS Setup utility, you can configure virtual RAID of NVMe SSDs. This feature is available only when the Intel Volume Management Device (VMD) is enabled. By default, all VMD ports are disabled.
Make sure you have installed the Intel NVMe VROC module on the server:
(1)If you have installed the standard version of the VROC module, you can create RAID 0, RAID 1, and RAID 10.
(2)If you have installed the advanced version of the VROC module, you can create RAID 0, RAID 1, RAID 5, and RAID 10.
(3)If you have installed the Intel version of the VROC module, you can create RAID 0, RAID 1, RAID 5, and RAID 10 only for Intel NVMe SSDs.
Refer to the table below for RAID levels and the number of drives for each RAID level:
RAID level | Min. drives required | Max. failed drives |
RAID 0 | 2 | 0 |
RAID 1 | 2 | 1 |
RAID 5 | 3 | 1 |
RAID 10 | 4 | 2 |
Solution
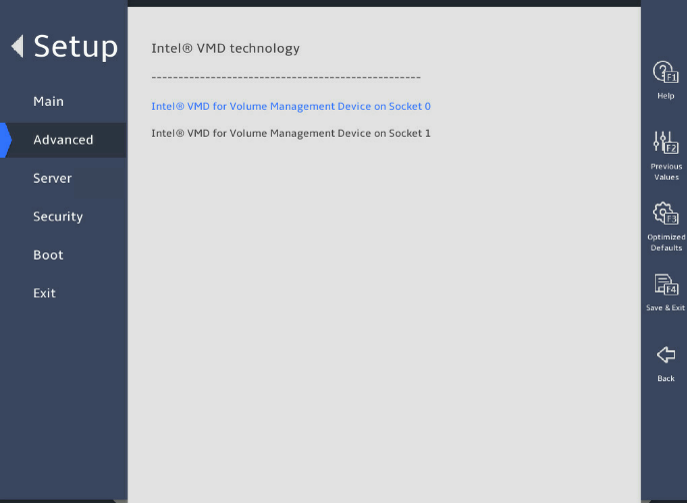
1. Enter the BIOS setup utility,Select Advanced > Socket Configuration > IIO Configuration > Intel® VMD technology;
2.Identify the VMD config options based on the slot number of the NVMe drive, set the corresponding Enable/Disable VMD field to Enabled, and enable the VMD ports;
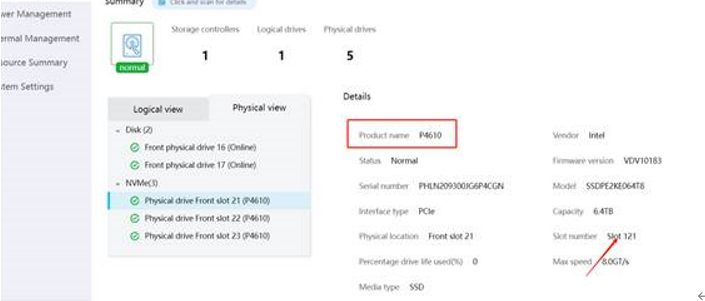
(1)First confirm the slot number of the NVMe disk:
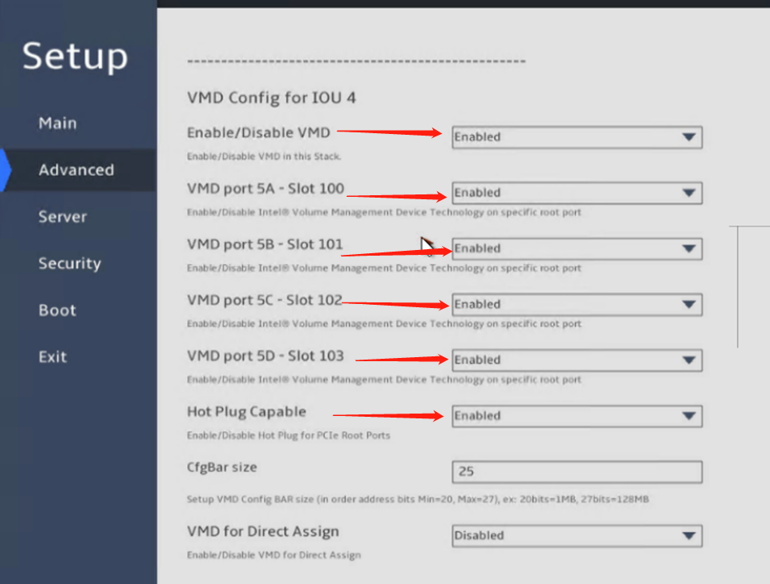
(2)Then find the slot number corresponding to the VMD port in the BIOS, as shown in the figure below, the slots corresponding to the four NVMe disks must be changed to enable, and the enable/disable vmd is changed to enable, and other options are available by default:
3.Press F4 to save the settings and restart the server;
4.Enter the BIOS setup utility. Select Advanced > Intel(R) virtual RAID on CPU;
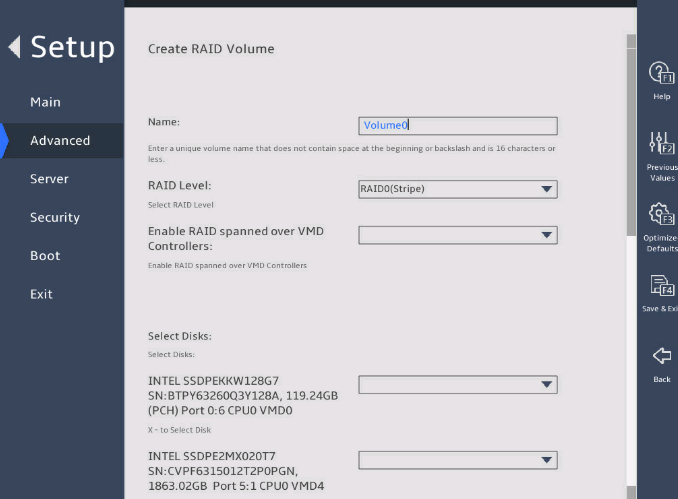
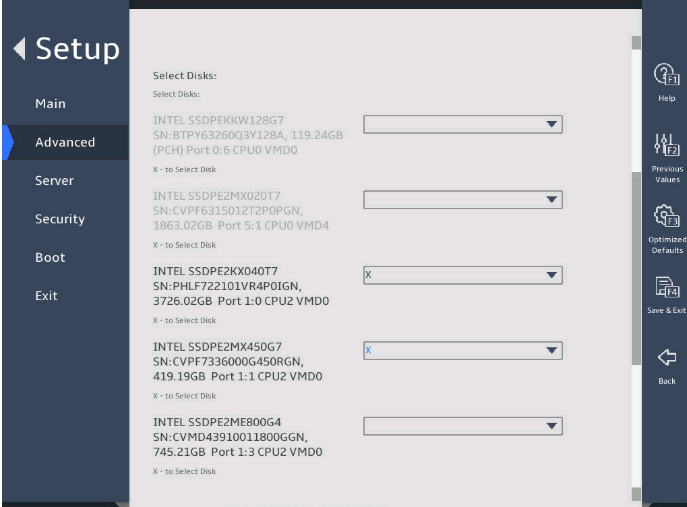
5.Select the disks to be added to the RAID array. X means the disk has been selected:
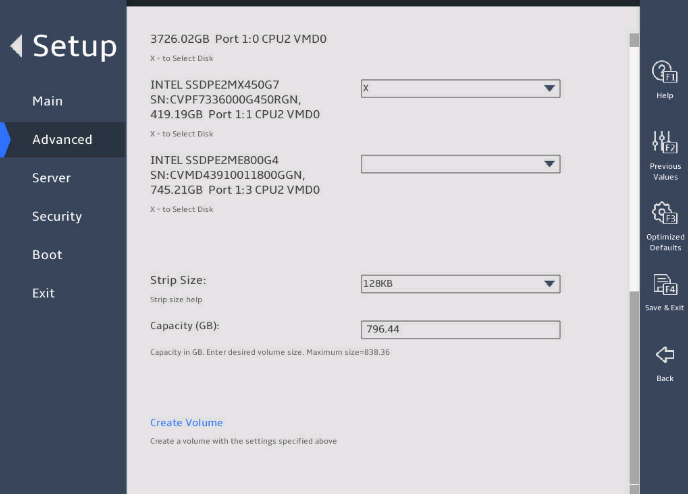
6.Set the strip size and capacity, and then select Create Volume:
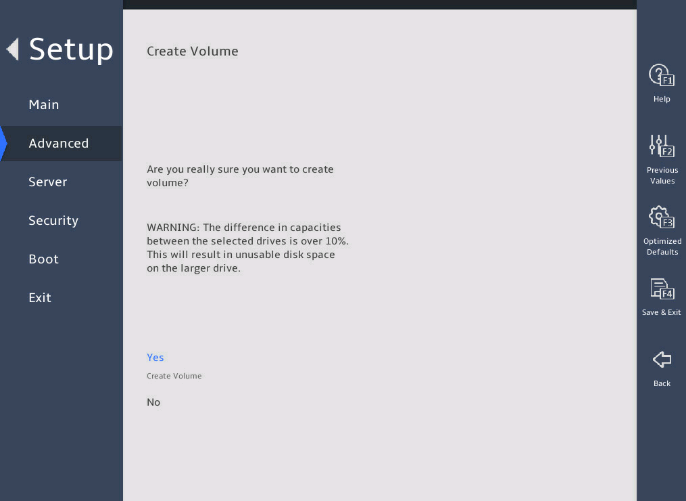
7.Select Yes to complete RAID creation:
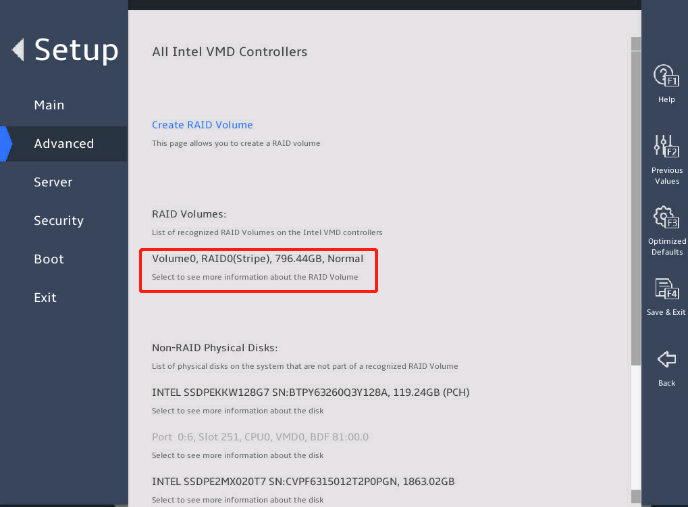
8.You can access the Intel® virtual RAID on CPU menu to view the created RAID array in the RAID Volumes field: